SwiftUI, does not have a native component for directly accessing the photo library or camera. The way to do it with SwiftUI is to use UIViewRepresentable — a SwiftUI protocol that acts as a bridge, allowing us to integrate UIKit’s robust components seamlessly into SwiftUI views. One of our previous tutorial of building a PDF composer has covered about the UIViewRepresentable, you can have a read about it.
In this tutorial, we’ll dive into the world of UIViewRepresentable to create an image picker—an essential component for many apps. We’ll harness the power of UIKit’s UIImagePickerController within SwiftUI, enabling users to select images from their device’s photo library or even capture new images using the camera, all while staying within the SwiftUI ecosystem.
By the end of this guide, you’ll have a clear understanding of how to build a custom UIViewRepresentable that encapsulates the image picker functionality, providing a smooth and intuitive way to handle images within your SwiftUI applications. Let’s embark on this journey of integrating UIKit’s capabilities into SwiftUI seamlessly!
Understanding UIViewRepresentable
At its core, UIViewRepresentable serves as a way to wrap a UIKit view or view controller, making it compatible and usable in SwiftUI’s functional paradigm. This powerful protocol defines two essential methods:
makeUIView(context:): This function is responsible for creating the UIKit view and returning it for use in SwiftUI. It’s akin to the initializer for the UIView or UIViewController being represented.
updateUIView(_:context:): This function is invoked whenever the SwiftUI view needs to be updated based on changes in the SwiftUI view hierarchy or state. It handles the configuration and updating of the UIKit view to reflect any changes made in the SwiftUI environment.
UIViewRepresentable is a versatile protocol, enabling SwiftUI to seamlessly interact with various UIKit components, from simple views like UIButton and UILabel to more complex elements like UIImagePickerController, WKWebView, or even custom UIKit-based views and controls.
This protocol acts as a gateway for SwiftUI to leverage the extensive capabilities of UIKit when SwiftUI’s native components might not cover specific functionalities. It enables developers to embrace the best of both worlds—SwiftUI’s simplicity and UIKit’s richness—while building robust and feature-rich applications.
Implementing the Image Picker ViewRepresentable
Creating the ImagePickerViewRepresentable:
To encapsulate the functionality of UIImagePickerController within SwiftUI, we’ll create a custom UIViewRepresentable struct called ImagePickerViewRepresentable. This struct will conform to UIViewRepresentable and manage the interaction between SwiftUI and the UIKit-based image picker.
makeUIViewController and updateUIViewController:
The ImagePickerViewRepresentable will implement the makeUIViewController method to instantiate and configure the UIImagePickerController. Within this method, we’ll create an instance of UIImagePickerController, set its delegate (to handle image selection), and configure any necessary properties such as source type, editing availability, etc.
So, the code below is what you need to implement the two said methods.
struct ImagePickerViewRepresentable: UIViewControllerRepresentable {
    // Implement necessary coordinator if required for delegate handling

    func makeUIViewController(context: Context) -> UIImagePickerController {
        let picker = UIImagePickerController()
        picker.delegate = context.coordinator
        picker.allowsEditing = true // Example: Allow image editing
        // Additional configuration for source type, etc.
        picker.sourceType = .photoLibrary // Change this to .camera for camera access

        // Additional configuration if needed, e.g., limiting to images only
        picker.mediaTypes = ["public.image"]
        return picker
    }

    func updateUIViewController(_ uiViewController: UIImagePickerController, context: Context) {
        // Update the view controller if needed
    }

    // Implement Coordinator if handling delegate methods
    // ...
}
Basically, in the above makeUIViewController method, we create an UIImagePickerController, sets its delegate, and other paramaters such as allowsEditing, the sourceType and the mediaTypes (which we limit to images only).
Integrating ImagePickerViewRepresentable in SwiftUI:
To use the ImagePickerViewRepresentable within a SwiftUI view, simply instantiate it as you would with any SwiftUI view. For example, to present the image picker when a button is tapped, as follows:
struct ContentView: View {
    @State private var isImagePickerPresented = false

    var body: some View {
        Button("Select Image") {
            isImagePickerPresented = true
        }
        .sheet(isPresented: $isImagePickerPresented) {
            ImagePickerViewRepresentable()
        }
    }
}
So, as simple as that, the above code is when the button is tapped, the @State variable isImagePickerPresented is set to true, which will present the sheet that its content is the ImagePickerViewRepresentable.
Adding Delegate Handling to ImagePickerViewRepresentable:
Now, we need a way to handle the picked image. We make use of the delegate methods of the UIImagePickerController for obtaining and processing the selected image.
To handle the selected image, you’ll need to implement the necessary delegate methods within the ImagePickerViewRepresentable. First, define a Coordinator to handle these delegate methods.
class Coordinator: NSObject, UINavigationControllerDelegate, UIImagePickerControllerDelegate {
    var parent: ImagePickerViewRepresentable

    init(_ parent: ImagePickerViewRepresentable) {
        self.parent = parent
    }

    // Handle the image picker's didFinishPickingMediaWithInfo delegate method
    func imagePickerController(_ picker: UIImagePickerController, didFinishPickingMediaWithInfo info: [UIImagePickerController.InfoKey : Any]) {
        if let image = info[.editedImage] as? UIImage {
            // Pass the selected image back to SwiftUI
            parent.selectedImage = image
        }
        // Dismiss the image picker
        parent.isPresented.wrappedValue.dismiss()
    }

    // Handle the image picker's didFinishPickingMediaWithInfo delegate method
    func imagePickerControllerDidCancel(_ picker: UIImagePickerController) {
        // Dismiss the image picker if cancelled
        parent.isPresented.wrappedValue.dismiss()
    }
}
Integrate the Coordinator with the ImagePickerViewRepresentable:
Now, integrate this Coordinator within your ImagePickerViewRepresentable as below:
struct ImagePickerViewRepresentable: UIViewControllerRepresentable {
    @Binding var selectedImage: UIImage?
    @Environment(\.presentationMode) var isPresented

    func makeCoordinator() -> Coordinator {
        return Coordinator(self)
    }

    // ... (Previous code for makeUIViewController and updateUIViewController)

    func makeUIViewController(context: Context) -> UIImagePickerController {
        let picker = UIImagePickerController()
        picker.delegate = context.coordinator
        picker.allowsEditing = true // Example: Allow image editing
        picker.sourceType = .photoLibrary // Source type for image selection
        picker.mediaTypes = ["public.image"] // Limit to images only
        return picker
    }

    // Rest of the code remains the same
}
Please take note of the @Binding selectedImage and the @Environment isPresented in the code snippet above, as they play pivotal roles in SwiftUI views. Their purposes are crucial for data flow and managing view presentation:
In SwiftUI, the @Binding property wrapper establishes a vital two-way connection between views, enabling seamless data flow within your app. This property wrapper allows for synchronized updates between a view and its source of truth, typically controlled by a parent view, ensuring changes in one immediately reflect in the other.
Meanwhile, @Environment in SwiftUI grants access to various environmental values or settings. Specifically, @Environment(\.presentationMode) allows a view to access its presentation mode, enabling control over how it’s presented in different contexts, such as sheets or full-screen modes.
Show the selectedImage in SwiftUI View
So, in our SwiftUI ContentView, we add an Image view to display the selected image. And there is a @State variable selectedImage which is nil by default, when an image is selected, it’s set to the selectedImage @State variable.
So, the code below is as simple as that a VStack aligns an Image view and a button vertically. The Image view will not be shown when no image is selected (when the selectedImage state variable is nil).
So, when an image is selected from the picker, it’ll be displayed on the Image view and the Image view will be shown. Please note that we’ll set the selectedImage state variable to nil, every time when the button is pressed to present the image picker.
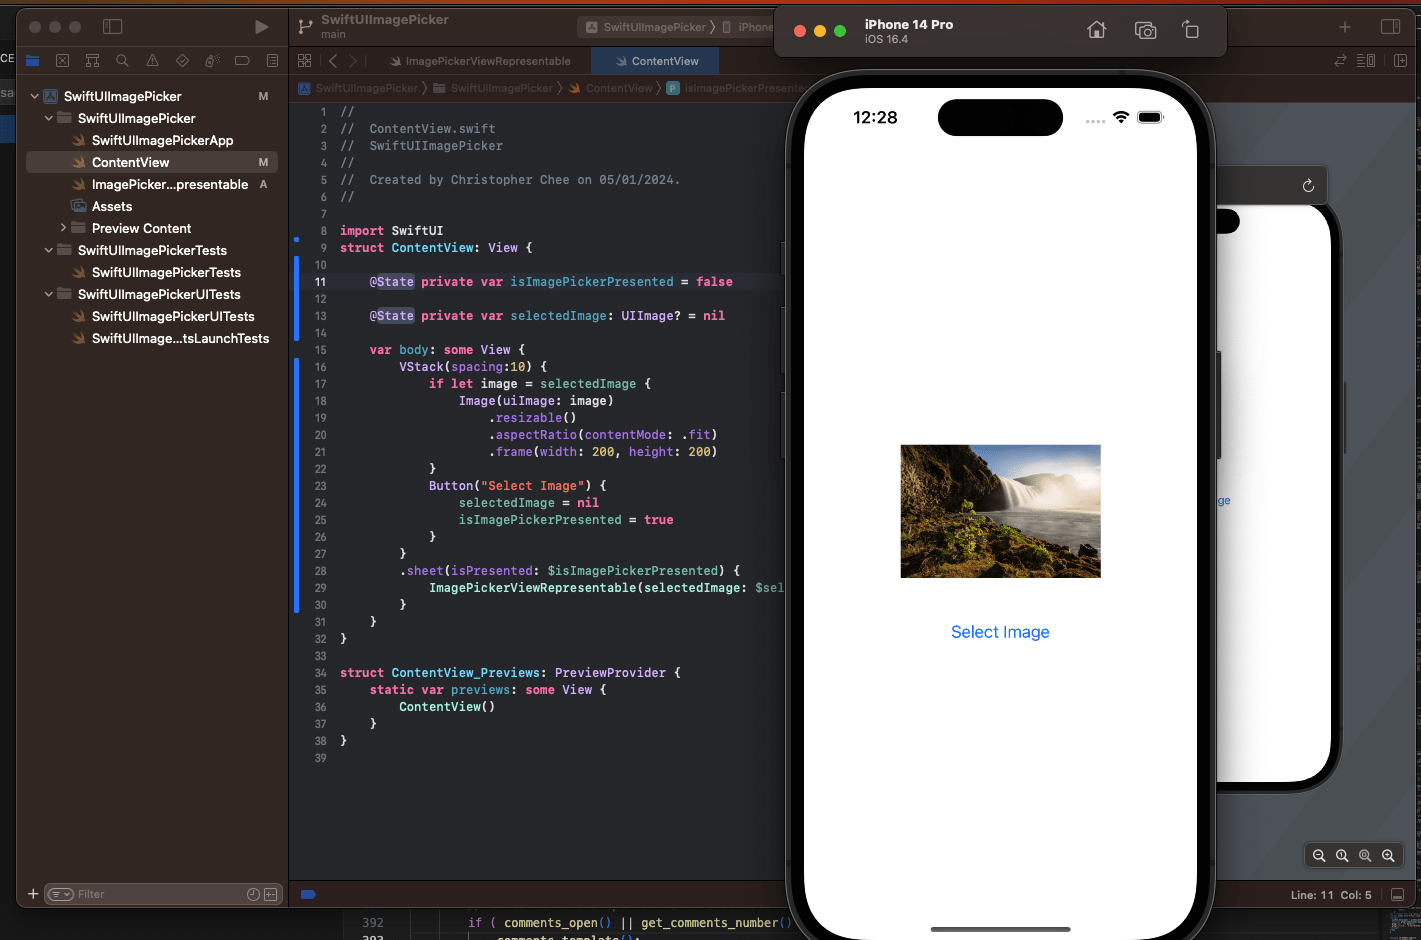
struct ContentView: View {
    @State private var isImagePickerPresented = false
    @State private var selectedImage: UIImage? = nil

    var body: some View {
        VStack(spacing:10) {
            if let image = selectedImage {
                Image(uiImage: image)
                    .resizable()
                    .aspectRatio(contentMode: .fit)
                    .frame(width: 200, height: 200)
            }
            Button("Select Image") {
                selectedImage = nil
                isImagePickerPresented = true
            }
        }
        .sheet(isPresented: $isImagePickerPresented) {
            ImagePickerViewRepresentable(selectedImage: $selectedImage)
        }
    }
}
The animated GIF below shows how it works on an iOS simulator.

That’s all for now. Hope you enjoy this tutorial. The complete source code of this tutorial can be found on GitHub. Happy learning!
One thought on “How to build a simple image picker with SwiftUI using UIViewRepresentable”