The iOS 16 has introduced a way to convert your SwiftUI views to image. Let’s look at how it can be done. ImageRenderer is a new class introduced in iOS 16 for SwiftUI, which you can easily generate an image for your SwiftUI view in just a few lines of code as below:
let renderer = ImageRenderer(content : Text("How are you?"))
if let uiImage = renderer.uiImage {
  // then you can use or save the uiimage
}
Let’s look at a simple tutorial with more complex or a combination of views.
Let’s start a new Xcode project, with Xcode 14.2, it’ll generate a default ContentView as follows:
struct ContentView: View {
    var body: some View {
        VStack {
            Image(systemName: "globe")
                .imageScale(.large)
                .foregroundColor(.accentColor)
            Text("Hello, world!")
        }
        .padding()
    }
}
So, we moved the above code into a view() function that returns some View – a better way to organise your code, so you can add more styles and complexity to it as follows:
extension ContentView {
    private func view () -> some View {

        VStack {

            VStack {
                Image(systemName: "globe")
                .imageScale(.large)
                .foregroundColor(.accentColor)

                 Text(text)
                .font(.headline)
            }
            .padding()
            .overlay(
                RoundedRectangle(cornerRadius: 20)
                .stroke(Color.purple, lineWidth: 1)
            )

        }
        .padding(2)
        .background(.clear)
    }
}
The above code simply has the originally-generated VStack spiced up with some little styles by adding an overlay with a RoundedRectangle that gives it a rounded border with purple color. And in our Text view here, we have the text set to a @State variable, so we can edit it with a TextField and generate the image and save or share it later. Please note that we have another VStack that wraps the original VStack with little padding, so the generated image will not have its border eaten up.
To generate an image of the views from the view() function, we simply have a function called render() as follows by providing the content of the ImageRenderer from the view() function. And the render() function returns an optional UIImage.
extension ContentView {
    @MainActor
    private func render() -> UIImage?{

        let renderer = ImageRenderer(content: view())
        renderer.scale = displayScale
        return renderer.uiImage
    }
}
Please note the above the render() function must be marked with @MainActor. @MainActor is the global actor that uses main queue to execute the work. We also need to specify the scale of the renderer else it’ll be rendered at 1x scale, which will look fuzzy on screens with 2x or 3x resolution. We use a displayScale variable which is tight to an environment variable @Environment(\.displayScale) to obtain the display scale.
We also create a simple form by using a form() function that returns some View, so we can edit the @State text variable as follows:
extension ContentView {

    private func form() ->some View {
        Form{
            TextField("Text here...", text : $text)
        }
        .frame(width:200, height:100,alignment: .center)
        .cornerRadius(10)
    }
}
In order to save or share our generated image of the SwiftUI view, we need a ShareView, that has been introduced in our previous tutorial. It is a UIViewControllerRepresentable that wraps the UIActivityViewController to be used in SwiftUI to save or share image or data.
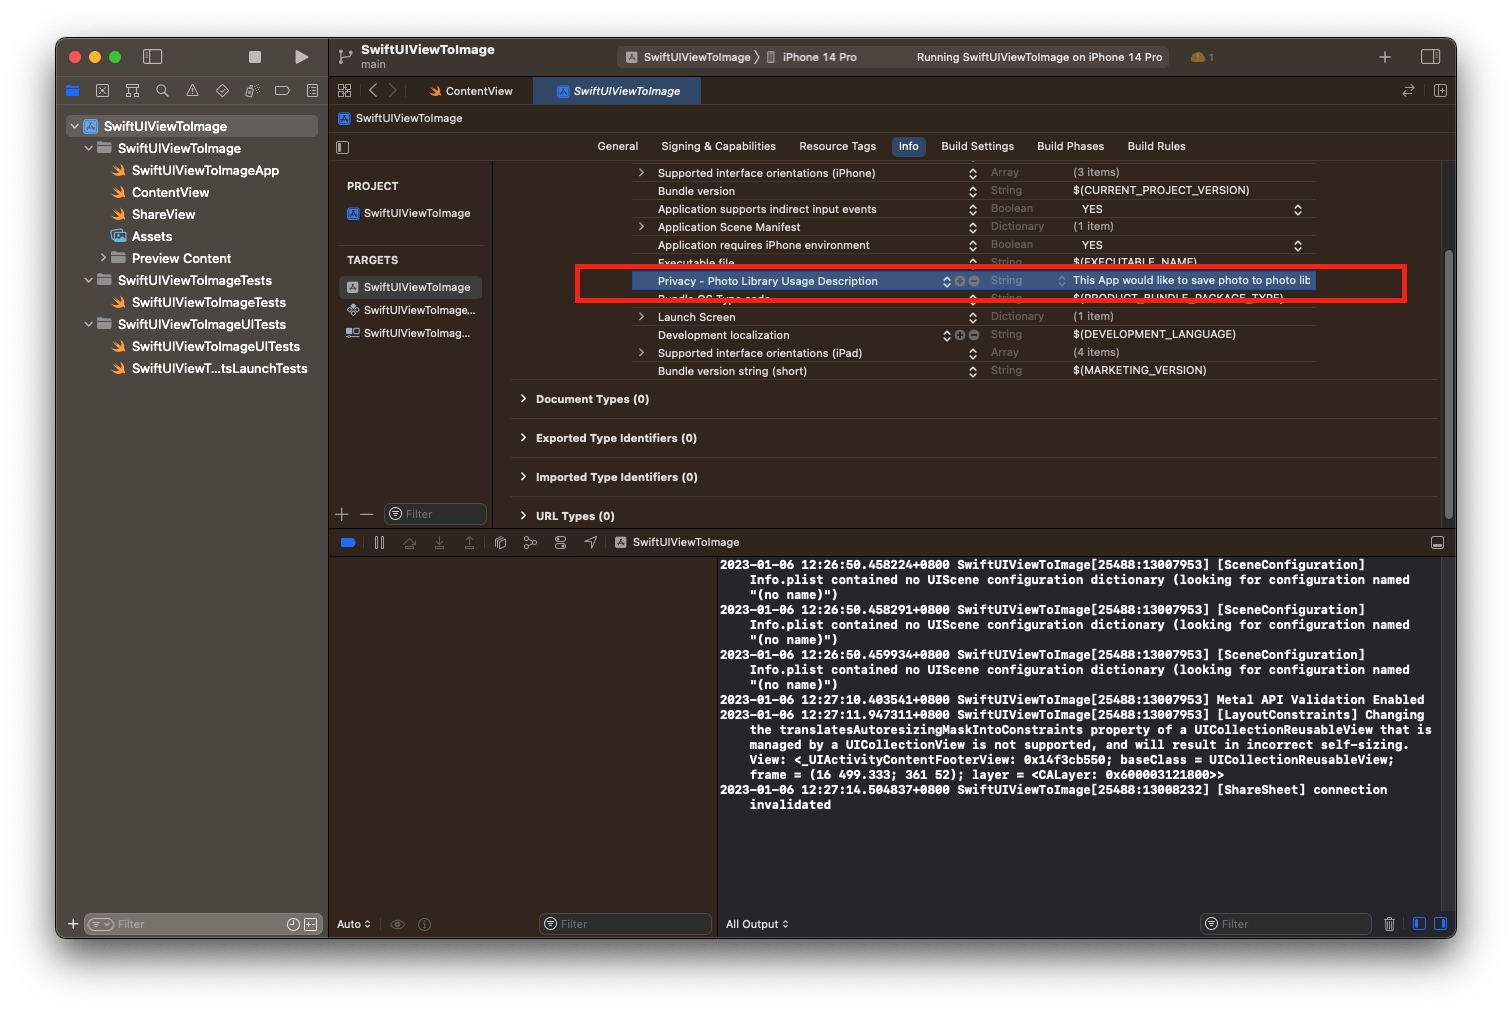
Please also note that in order for the ShareView or UIActivityViewController to be able to save image to the photo library, you need to add the NSPhotoLibraryUsageDescription key to your Info.plist. Or in your Xcode 14.2, simply go to your project’s targets, at the Info tab, add “Privacy – Photo Library Usage Description” as shown in the screenshot below.
So, now to wrap up in the main view of the ContentView, we simply have a VStack which holds three views, the view() function on top, followed by the form() function and SwiftUI Button that will set the @State variable sheetPresented to true when it’s tapped to present our ShareView on a sheet. The ShareView will only be presented once the image from the render() function is available. The final code is as follows:
struct ContentView: View {

    @Environment(\.displayScale) var displayScale

    @State private var sheetPresented : Bool = false

    @State private var text : String = "Hello World"

    var body: some View {

        VStack(alignment: .center, spacing:30) {

            view()

            form()

            Button(action: {
                withAnimation{
                    self.sheetPresented = true
                }
            }){
                Text("Generate & Share")
            }
        }
        .sheet(isPresented: $sheetPresented, content: {

            if let data = render() {
                ShareView(activityItems: [data])
            }

        })
    }
}
The result is as below when run on an iOS Simulator.

Complete source code available on GitHub