There are at least two reasons that you should develop GUI-based application with Python. GUI applications developed with Python are cross-platform, which you can run them on Mac, Linux and Windows and Python is easy to learn with much simpler syntax than any other programming languages.
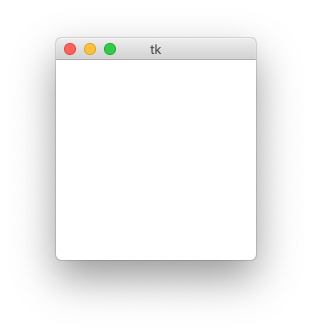
Tkinter is the standard GUI library for Python and it is easy to use. Basically, to create a GUI application main window, just need a few lines as follows
from tkinter import Tk
window = Tk()
window.mainloop()
Here is an example of a simple application, which consists of a container, which inherits from the main container of tkinter librarry, Frame and has two buttons in the container, which the first button will show a message when it’s clicked and the second button will quit the application when it’s clicked. As shown in the image below:

from tkinter import Button, Frame, Tk, messagebox as mbox
from datetime import datetime
class MyGuiApp(Frame) :

	def __init__(self, window=None):
		super().__init__(window)
		self.window = window
		self.pack(expand=True, fill='both')
		self.createButtons()

	def createButtons(self):
		...
	def showMessageBox(self):
		...
Details of the createButtons() and showMessageBox() methods are as follows:
The createButtons() method is which we layout the two buttons.
def createButtons(self):
   self.actionButton = Button(self, text = 'Click Me To Show Message')
   self.actionButton["command"] = self.showMessageBox
   self.actionButton.pack()
   self.actionButton.place(x=50, y=50, width=200, height = 30)

   self.quitButton = Button(self, text='Quit', fg='red')
   self.quitButton["command"] = self.window.destroy
   self.quitButton.pack()
   self.quitButton.place(x=75, y=120, width=150, height = 30)
The first button, create an instance variable actionButton, set its text label as ‘Click Me To Show Message’ and command, which is what the method showMessageBox() will be called when it’s clicked. And then call the pack() to add it to the parent widget and then we use the place() method to place it in a specific position.
The same goes to the second button, quitButton, the little difference is its command set to self.window.destroy, which will quit the application when it’s clicked.
The showMessageBox() method basically displays the message and shows the current date and time
def showMessageBox(self):
   now = datetime.now()
   date = now.strftime("%d/%b/%Y")
   time = now.strftime("%H:%M:%S")
   mbox.showinfo("New Message!", "Hello World! Today's Date is "+ date + ", current time is "+ time)
Finally, we have a self-contained application Frame, we need to create a window and add the frame to it to show it.
window = Tk()
window.geometry('300x250')
window.configure(bg='grey')
window.title('My First Python GUI App Example')
app = MyGuiApp(window=window)
window.mainloop()
The above lines of code, create a window object, set its size (300×250), background color (grey) and title and runs the event loop to listen for events such as button clicks.