SwiftUI is the new way of designing and developing your UIs which has been introduced by Apple since iOS 13. It’s a new framework which allows you to write less code when developing the user interfaces of your iOS apps.
SwiftUI has omitted the use of StoryBoard, AutoLayout or Xib (Interface Builder) etc. To group views together, you’ll basically use stacks available in SwiftUI, which are HStack, VStack and ZStack. And you can combine these stacks to build more complex layouts.
Basically, the stack is what allows a collection of SwiftUI views to be grouped together, the 3 common stacks are as follows :
Example of HStack
HStack {
   Text("Hello")
   Text("World")
   Image("placeholder")
}
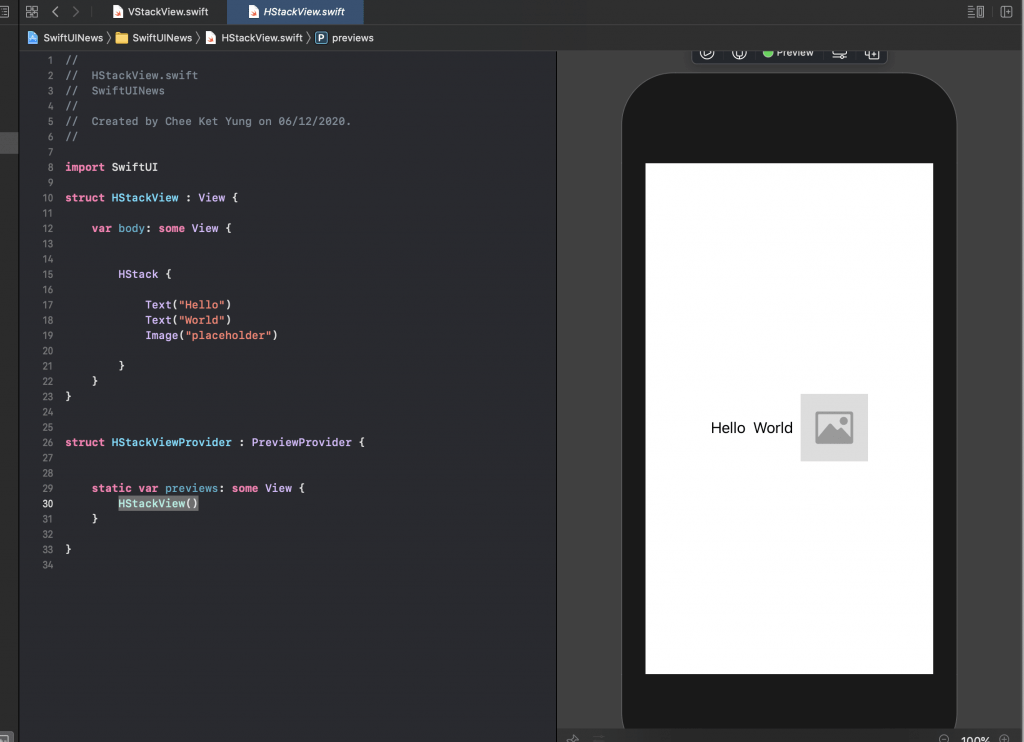
The screenshot above shows the two Text views and an Image view are organised horizontally. The first view at the left most is the Text view with the text “Hello”, the second in the middle is the Text view with the text “World” and the right most is the Image view with an image named “placeholder” in your assets.
Example of VStack
VStack( alignment: .leading, spacing:20){
    Text("This is line 1")
    Text("This is line 2")
    Image("placeholder")
}
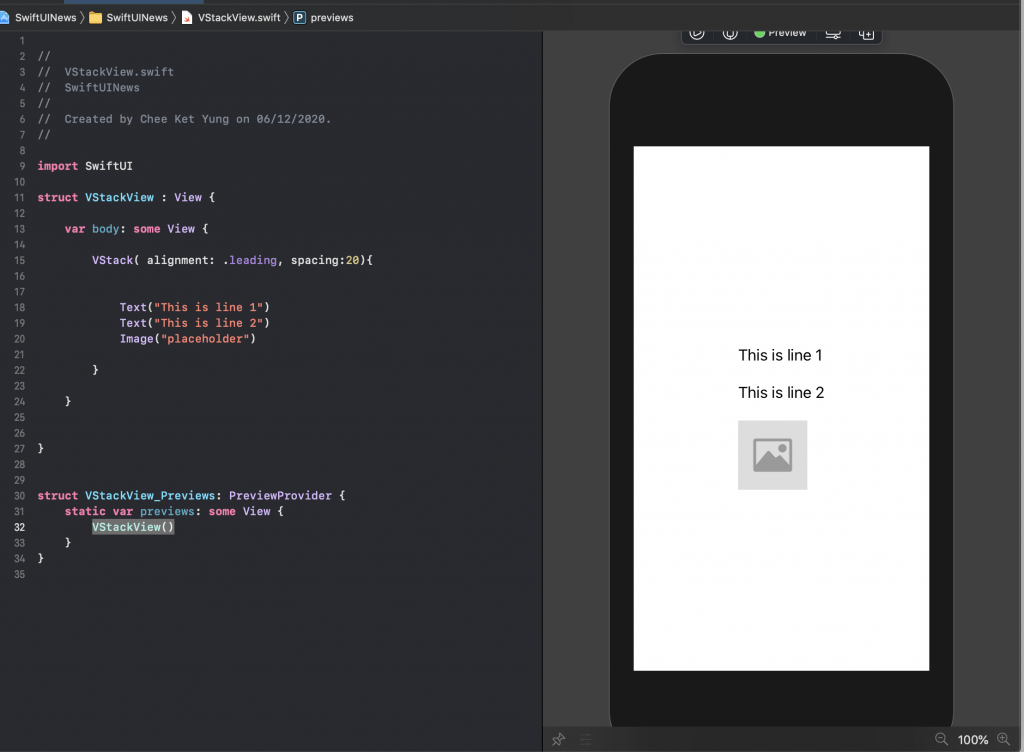
The above screenshot is the preview in Xcode, showing that 2 Text views and an Image view are organised in a vertical manner. Please note, we supply the initializer of the VStack with the values of alignment and spacing. If none of these given, then the views will be centered and having default spacing between views.
ZStack {
   Text("This is the background text").font(.headline)
   Image("placeholder")
   Text("This is the foreground text").foregroundColor(.blue)
                .offset(x: 30, y: 26)
}
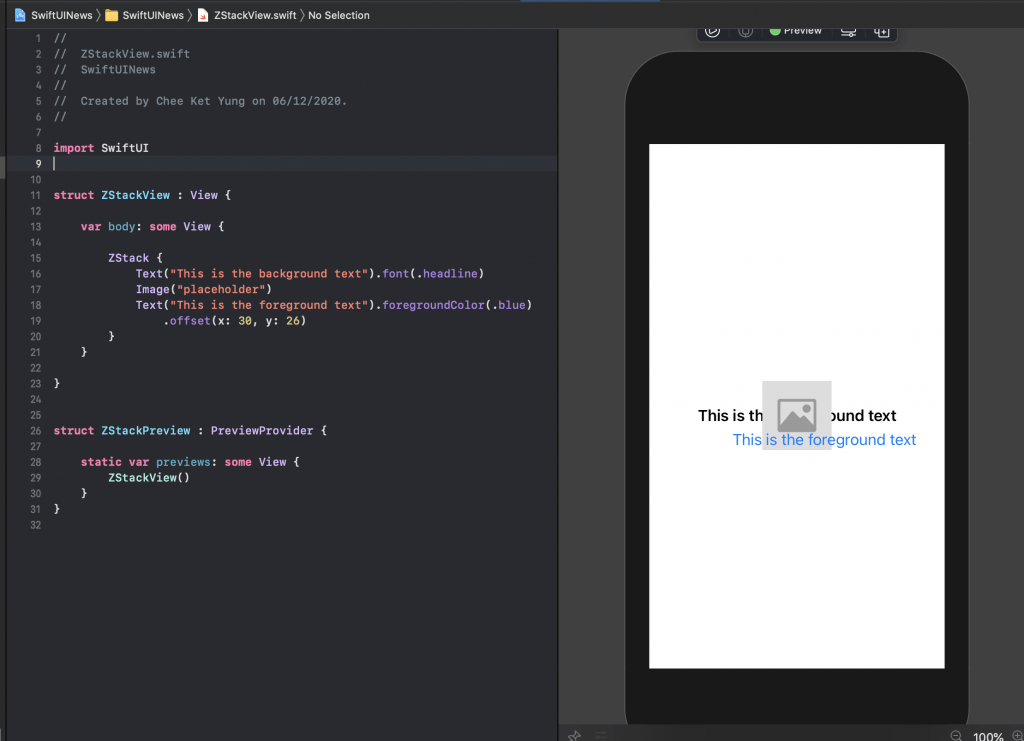
The above screenshot shows that the ZStack organises the three views from back to front. The first at the back most is the Text view with the text “this is the background text”, the one in the middle layer is the Image view and while the frontmost is the Text view with the text “This is the foreground text” with its color in blue and it’s set with an offset so it’s off the center a bit, to let you see clearly.
Stacks can be combined together and build more complex layout.
VStack (alignment: .leading) {
   HStack( alignment: .top ) {
      Image("placeholder")
      Text("Hello, how are you?")
   }

   HStack {
      ZStack {
         Image("nightsky")
         Circle().fill(Color.yellow).frame(width: 20, height:20, alignment: .center).offset(x:-20, y: -20)
      }

      VStack (alignment: .leading, spacing : 2) {
         Text("Lovely night sky")
         Text("With a bright moon")
         Text("Everything looks cool")
      }

   }
}
The above example shows that a VStack organises two HStacks in a vertical manner. The top HStack simply contains an Image view and a Text view.
The bottom HStack is more complex, the first view is a ZStack which has an Image view at the back and a Circle with yellow color at the front, which make up a night sky with a big moon. The second view in the bottom HStack is simply a VStack which organises three Text views in a vertical manner.
2 thoughts on “A first look at SwiftUI stacks, VStack, HStack, ZStack and build some combined views”