In iOS development, we always have our apps designed in a way letting users to navigate between screens. Such as in the UIKit, a UINavigationController is used to push to another ViewController and pop back from it.
NavigationView is what you need in SwiftUI to push to another screen and pop back from the screen. In order for your iOS app to have the navigation capability, you’ll need to have a NavigationView to wrap around the views you want to display :
struct ContentView: View {
   var body: some View {
       NavigationView {
           Text("Hope your day is\nbright and sunny")
       }
   }
}
So, in the above code, we simply display a Text view and we have a NavigationView to wrap around it.
In order for the screen to navigate to another screen or view, we simply create a NavigationLink, supply its destination and wrap it around a view which will push to another screen when it’s tapped :
NavigationView{
   VStack(spacing:20) {
      Text("Hope your day is\nbright and sunny")

      NavigationLink (destination: EmptyView()){
          Text("Next")
      }
   }
}
In the above, we have a VStack to display our main Text view and a NavigationLink with its destination to an EmptyView below it. Inside the NavigationLink is a Text view with the string “Next”, so when it’s tapped, the screen will push to an EmptyView as follows:
The destination of the NavigationLink can be any View. Such as you can have a Text view or any other stacks of views, such as a custom DetailView.
1. An example of the destination is a Text view:
NavigationLink (destination: Text("Your second screen")){
    Text("Next")
}
The result is as follows, which it’ll push to a screen with a Text view at its center with the text “Your second screen”:
2. Example of which the destination is a HStack of 3 Image views of SFSymbol:
NavigationLink (destination:
   HStack (spacing: 30){
      Image(systemName: "ant")
      Image(systemName: "ladybug")
      Image(systemName: "ant")
   }
){
   Text("Next")
}
The result is as follows, showing you three images organized horizontally at the center:
3. An example of pushing to a custom DetailView:
NavigationLink (destination: DetailView(jsonFile: "Book1.json")){
Text("Next")
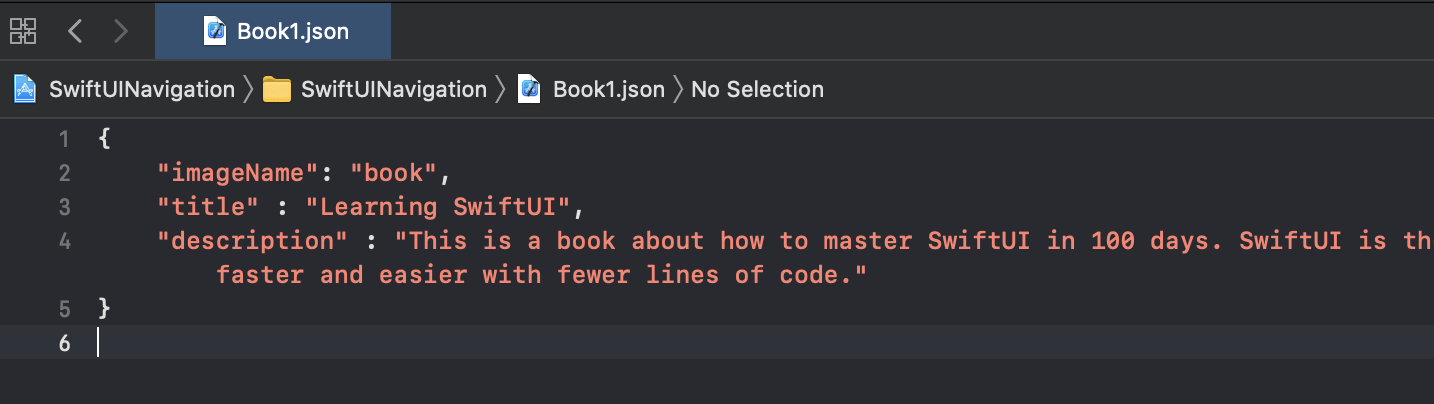
}The DetailView – we have a DetailView here, which you provide it with the name of a JSON file that is stored in your local bundle, and it loads and decodes the JSON file into a struct Book which conforms to Decodable; by the use of Bundle.main.decodeJson.
struct DetailView : View {
  let jsonFile : String

  var body: some View {
     let book = Bundle.main.decodeJson( Book.self, fileName: jsonFile)

     VStack(alignment: .center, spacing: 30) {
         Image(book.imageName)

         VStack(alignment: .leading, spacing: 20) {

            HStack (alignment: .firstTextBaseline, spacing:20){
               Text("Book Title    :").font(.headline)

               Text(book.title)
            }

            HStack (alignment: .firstTextBaseline, spacing:20) {
               Text("Description :").font(.headline)

               Text(book.description)
            }
        }

        Spacer()

    }
    .padding()
    .navigationBarTitleDisplayMode(.inline) // since iOS 14
    .navigationTitle(Text("Detail View"))
  }

}
The struct Book:
struct Book : Decodable {
  var imageName : String
  var title : String
  var description : String
}
The Book1.json file in bundle.
The result:
A NavigationLink can wrap any view inside it, such as a Text view, Image or any custom stacks of Views. So when tap on the view or stacks of views wrapped inside a NavigationLink, it’ll push to the destination of the NavigationLink.
1. An example of Image view with SFSymbol.
NavigationLink (destination: DetailView(jsonFile: "Book1.json")){
   Image(systemName: "ant")
}
Please note that, same as the Text view, the Image view with SFSymbol will appear in blue color, indicating that it’s a link. The result as follows:
2. An example of Image with any image stored in the assets.
NavigationLink (destination: DetailView(jsonFile: "Book1.json")){
   Image("tc")
}
Whereas an Image view with the image stored in the asset, will appear in its original color. If you want to make it appear in blue, you’ll have to use the modifier renderingMode and set it to .template as below. The “template” renderingMode will turn the non-transparent part into one color, which is blue for a link.
The above is our example image, the “TC” word in the center is transparent, while the rest is non.
NavigationLink (destination: DetailView(jsonFile: "Book1.json")){
   Image("tc")
    .renderingMode(.template)
}
The result:
3. An example with a ZStack of Views inside a NavigationLink.
NavigationLink (destination: DetailView(jsonFile: "Book1.json")){
   ZStack {
      Circle().fill(Color.purple)
      .frame(width: 200, height: 200, alignment: .center)

      Circle().fill(Color.green)
      .frame(width: 150, height: 150, alignment: .center)

      Text("Tap me")
      .font(.headline)
      .foregroundColor(.white)
   }
}
The result:
That’s all for now, in order not to have this blog post too lengthy. We’ll have another post to cover the navigation title, items, buttons and their styles later.
One thought on “Push and pop screens with NavigationView in SwiftUI”